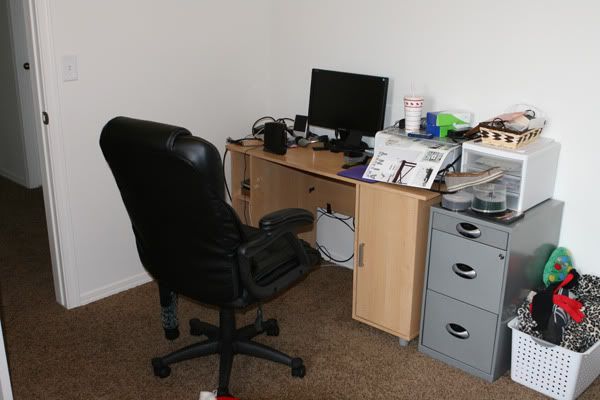
I received a free desk from my in-laws. Even Karl didn't want it. But I saw that it had enormous potential, plus, my current desk was very ugly. I mean $50 at target particle board covered with fake wood sticker ugly. Here is a picture:
To figure out my re-do for the desk I first had to figure out how I wanted to decorate my office. I cut out inspiration from painting magazines and created an "inspiration board." Karl hated the direction I was going. However, since I work from home and I work IN THE OFFICE I told him that he could have a room in the house that we could decorate any way HE wanted - perhaps the bathroom. :) He really didn't care but it was a funny conversation.
Anyway, I had my office theme and then I was ready to paint the desk. Here is my lovely desk BEFORE the transformation:

Notice the nasty stickers on the side, the peeling-up plastic, and the un-moderness of it all. But shapewise? I'll take it. I can do cool things to this desk.
So I started by peeling up all of the nasty plastic with a razorblade.
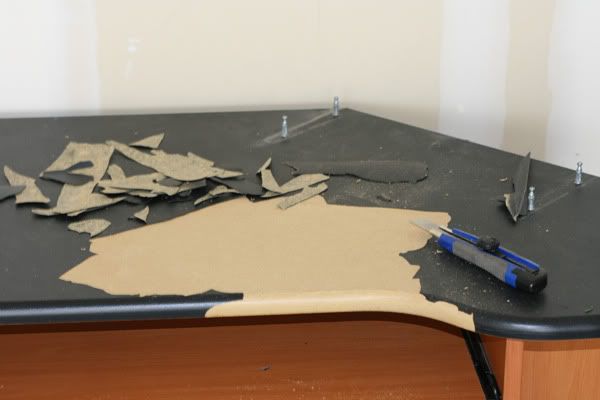
That part took forever. Then I sanded down the wood underneath the previous plastic with my awesome sander. I also sanded off all the stickers.
I then went to walmart and bought shiny black paint and polyurethane. I then went to the scrapbook store and bought scrapbook paper to line the back of my shelves.
I put on 3-4 coats of black paint over the whole desk and then put on 2 coats of quick-dry polyurthane. (that sounds like it was so fast. But it wasn't)
I then lined the previous shelf backing with my scrapbook paper via decopauage glue.
I contacted Karl's aunt who has a vinyl printing business and paid her to print out a big vinyl sticker that I designed in illustrator.
Once the desk was dry, I nailed on the back of the shelves that are now covered in pretty paper. I then put my big vinyl sticker across the top. Are you ready to see the transformation??????????????
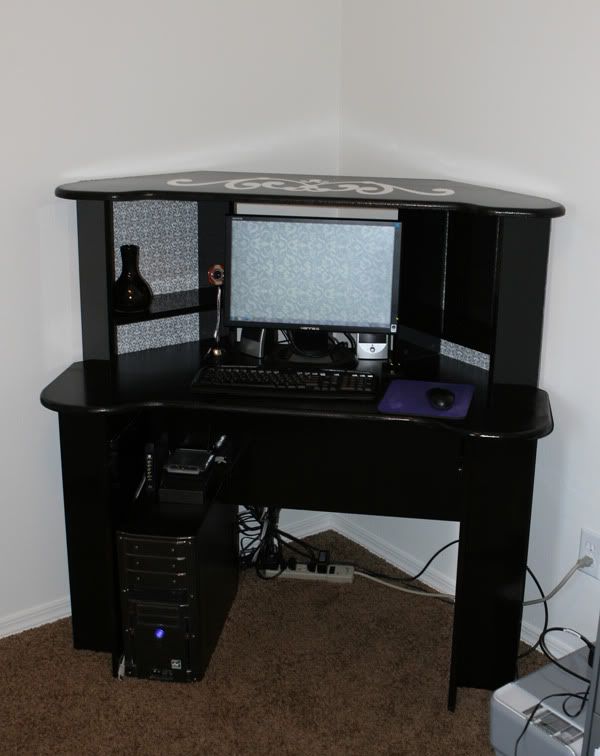
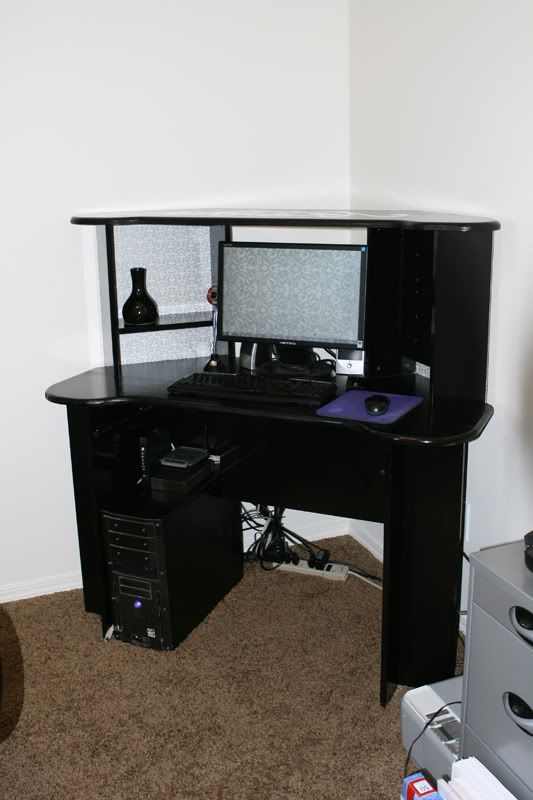
DESK AFTER:
SEXY SEXY DESK. Which Karl LOVES. He just couldn't see my vision in the beginning.
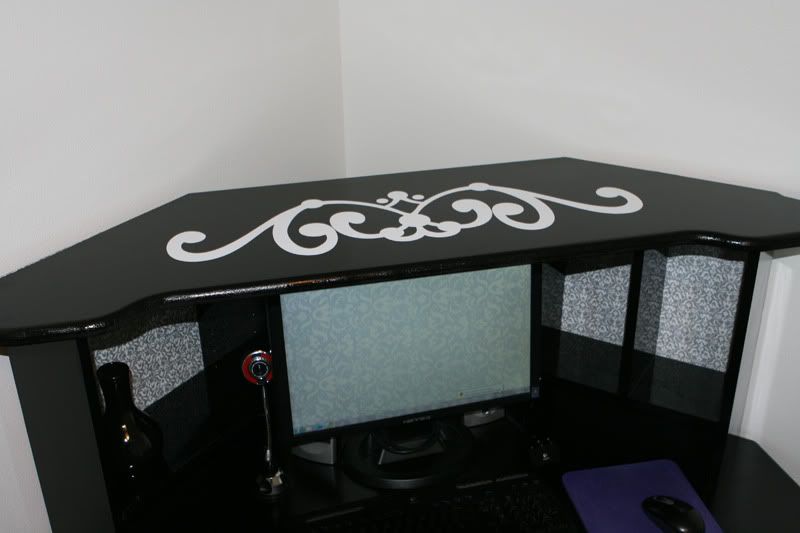
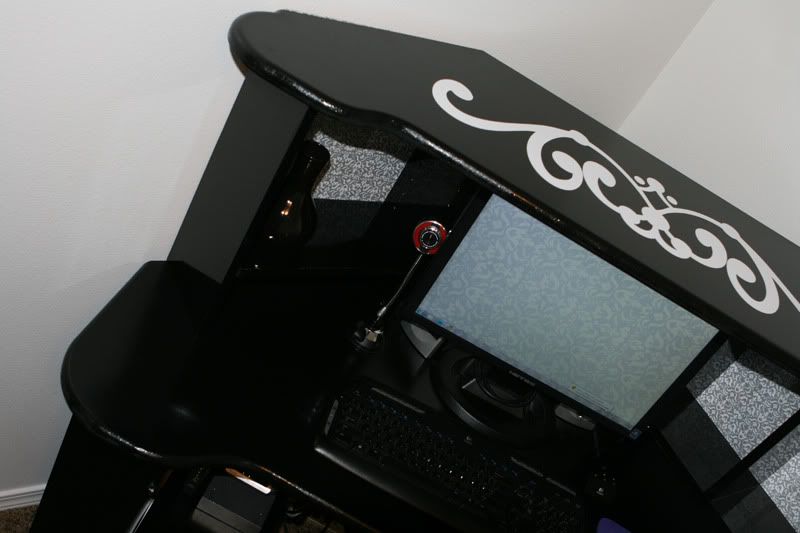
Here you can see better the sticker I designed and the back of the shelving:
And just because I love it so much and am so proud of it, here are tons more pictures of it.
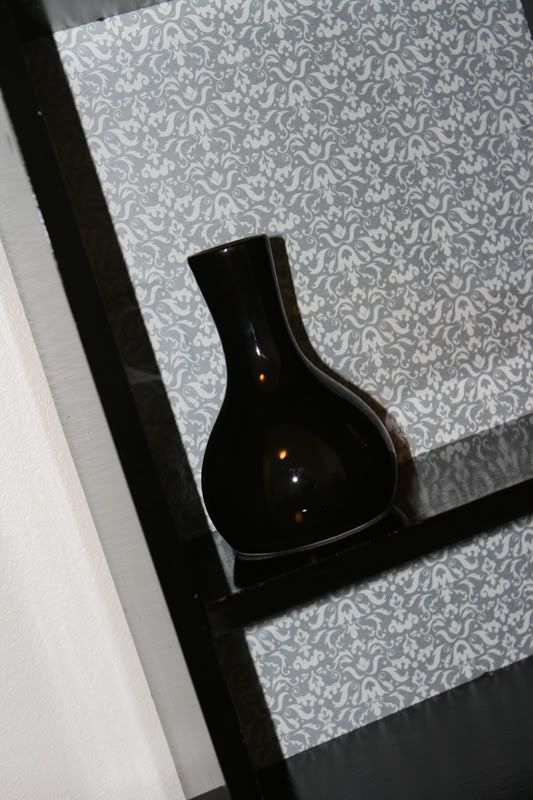
Cute vase from target:
Side view:
Two diagonal views:
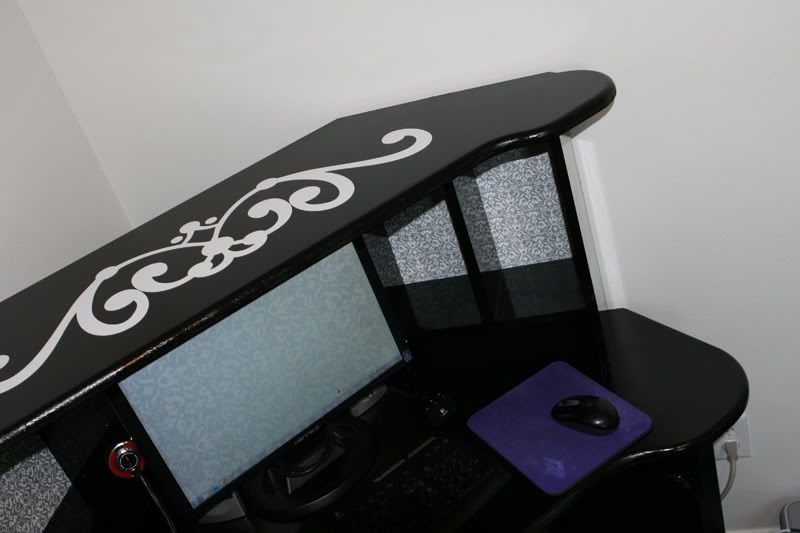
Desk again (the printer and junk has all been moved now)
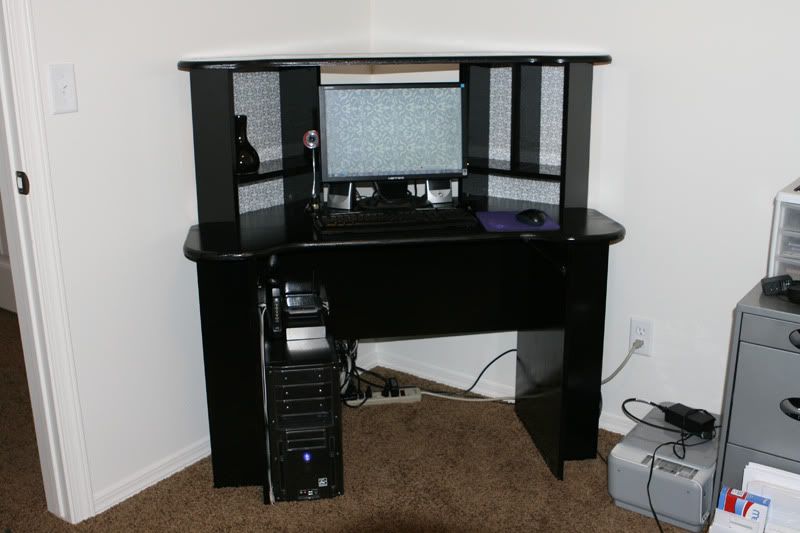
AND GUESS WHAT??? I just got a FREE DRESSER!!! Stay tuned!

6 comments:
I'd like to take the time to make sure you know how appreciated your matching desktop wallpaper is! I love it! haha
you did an excellent excellent job and I am so impressed!!
Awesome job! I am totally jealous that I didn't get to help! I knew you were up to no good when I saw Karl's car parked in the driveway!
Oh my gosh Ashley! That is amazing! I love the sticker and the vase! So cute!
I love a good before and after! :) Great job!
You guys are all so sweet to me! I love comments so I am so happy to receive comments! Thank you for all your great compliments!
Wow, You're a photographer, Graphic designer, AND an interior designer? when is the interior design class? haha!
Post a Comment