Thursday, March 25, 2010

Lauren's chair - before and after

Honestly, don't before and after pictures just BLOW YOUR MIND??????

Maybe it's because my mind is weak but I find a good before and after seriously motivating, refreshing and invigorating.

I went hope last weekend for about the quickest trip to California known to man but while I was there I promised Lauren that I would help her do something for her room decorations. When I got to California, Lauren showed me her desk chair. Believe me - this desk chair is RIPE with potential and READY for a redo.

This chair (set of 4) was given to my family when my Great Grandma died, so the chairs are 1) antique 2) pieces of crap. Honestly, they were very uncomfortable and breaking. Chipped, and covered in hideous fabric. Please see chair below:

Photobucket

The first thing I did to the chair was take a hammer to the music staff in the center. Goodbye music staff. Funny story - my mom forgot to tell my dad that I was redo-ing the chair. So he comes home from work, sees me and Lauren painting it and says to us "WHERE'S THE MUSIC STAFF?!?!?!?" hahahah. Whoops!

Anyway, then Lauren and I painted 3 coats of black paint on the chair after the music staff was ripped off and put on another coat of polyurethane.

Onto the cushion. The cushion that was there was just so hideous - and the part where your butt goes was very uncomfortable. So Lauren and I went to the fabric store, bought cute fabric, lining, badding, and padding (2" thick).

The piece of wood was also very flimsy so my dad cut us a new piece of plywood. Thanks dad!

Then Lauren and I covered the wood with the padding, badding, lining and finally fabric (golly it took a lot longer than it took you to read that sentence.) We used a staple gun to make it nice and tight around the plywood.

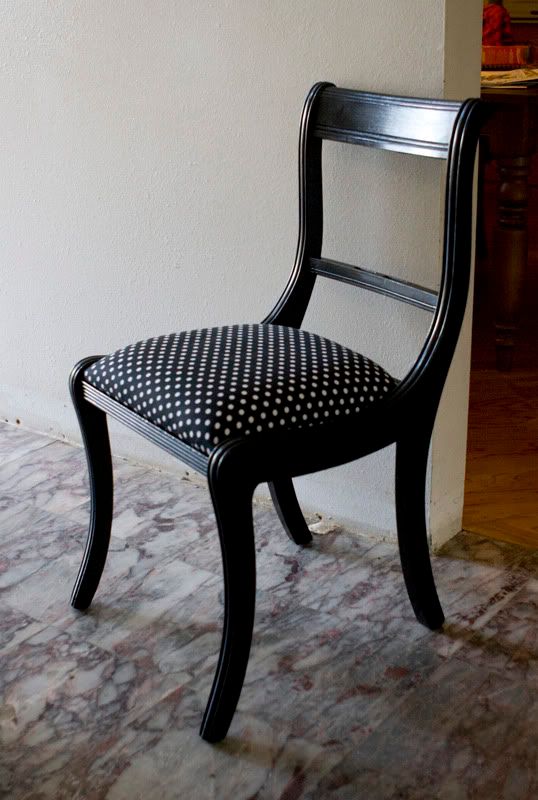
Final result? Prepare yourself.
Photobucket

Lauren picked out the fabric because her room is going to be purple with black and white polka dots. Isn't it adorable for Lauren's room??? She was so happy with it. I am so glad to spend time with my sweet sister and have fun projects to work on with her.

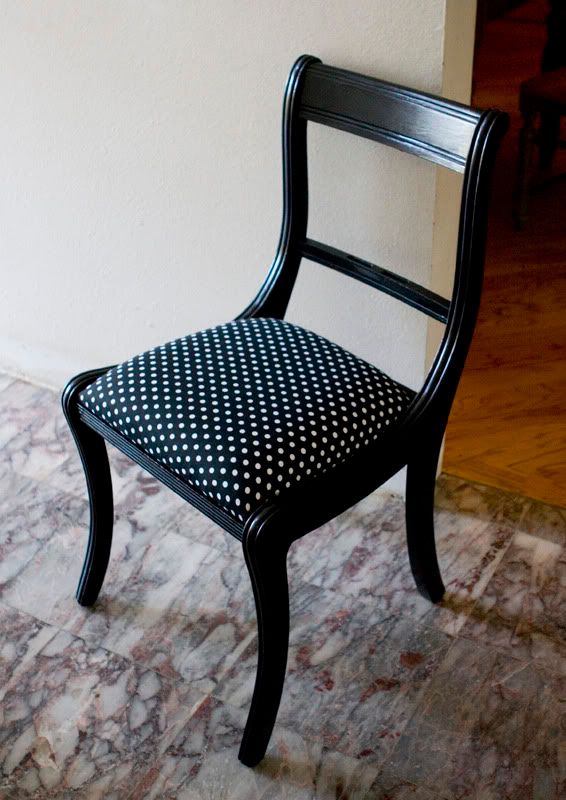
Another angle:
Photobucket

Still haven't worked on my dresser yet!

Thursday, March 18, 2010

Jewelry Post Sneak Peek

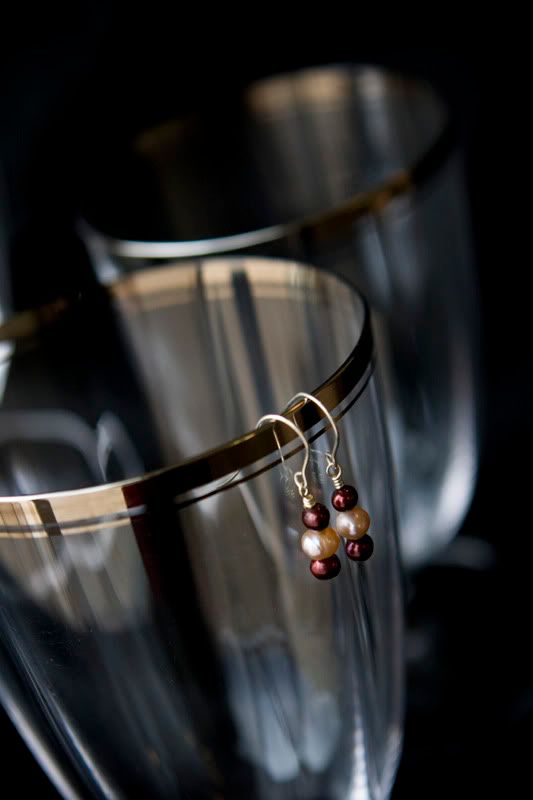
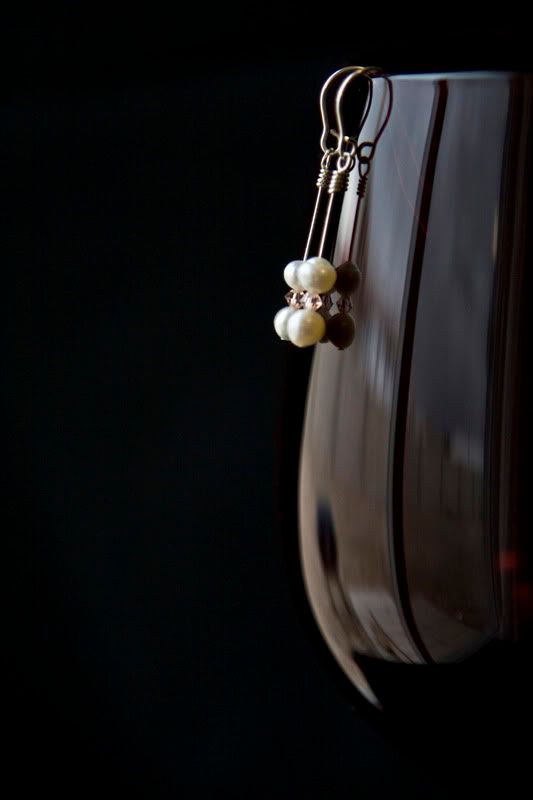
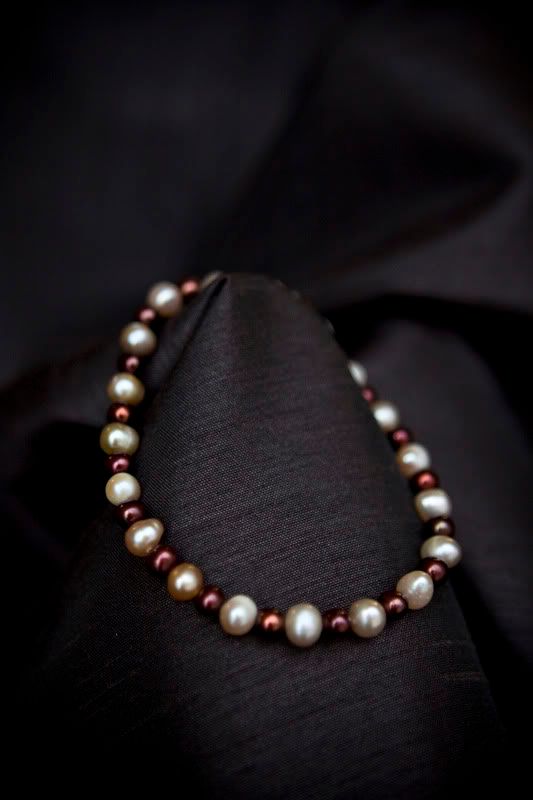
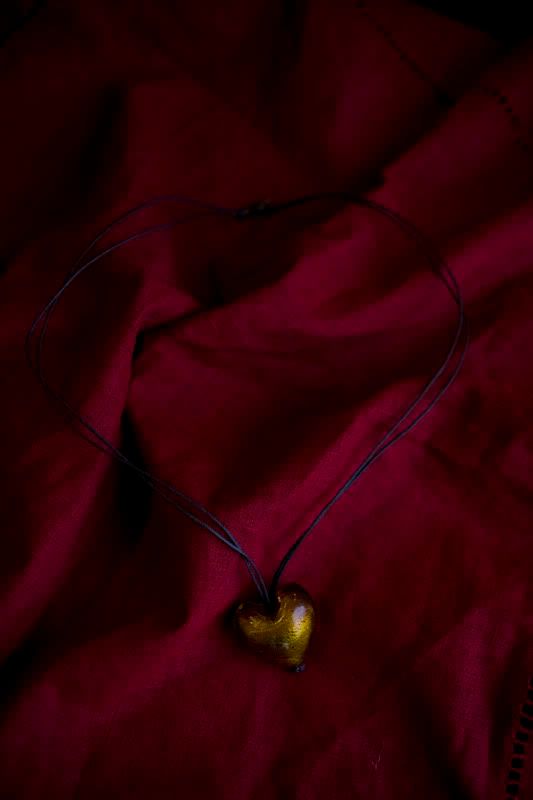
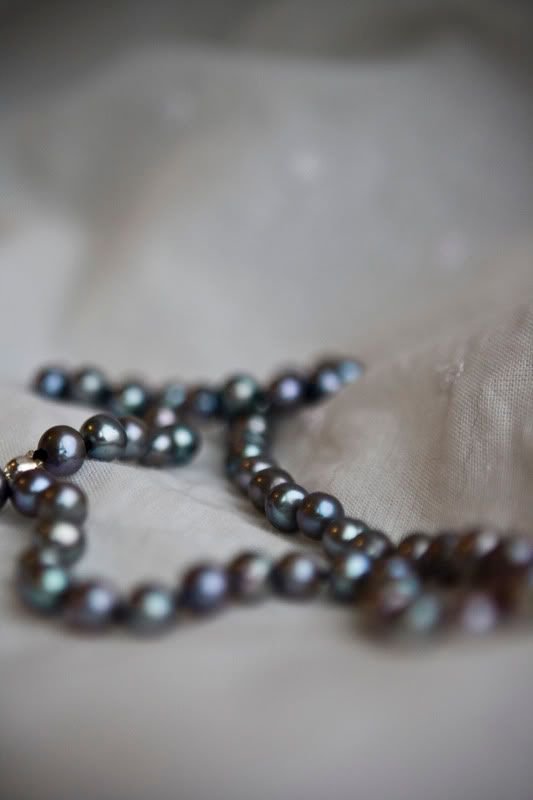
My friend Lindsay contacted me this week and told me that she is interested in starting her own jewelry business. She first wants to start online and go from there. To do that, she needed some "killer pictures" of her jewelry. Oh yeah - this is where I come in. I SPECIALIZE in killer pictures. She came over TODAY and brought all of her fabulous jewelry.

I promised I would post the pictures and link over to her online shop, but the thing is, I haven't even given her the pictures yet because I have just stated up all night editing them because they turned out FABULOUS. She will be receiving her pictures tomorrow (how's that for a turnaround time) and so I will only post my absolute FAVORITE snippets. That way, when I post the "real post" I can link to her shop and talk about all of the jewelry.

Just FYI - the studio we set up was on some chairs in my living room in front of my sliding glass door to get optimal lighting. We brought out fabrics, bowls, lights, and a plethora of other things to help us succeed in this awesome jewelry photoshoot. This was a fun one, let me tell you! Can't wait to do it again!

Photobucket

Photobucket

Photobucket

Photobucket

Photobucket

Photobucket

I would love to hear about what you all think!

Monday, March 15, 2010

Office Desk - Before and Afters

Oh how I love before and after photos. Those photos just make me excited for all the potential every piece of ugly furniture has. I love read do-it-yourself articles and blogs, and since I have a blank slate of a house ripe for the decorating, the articles couldn't be more perfect for me!

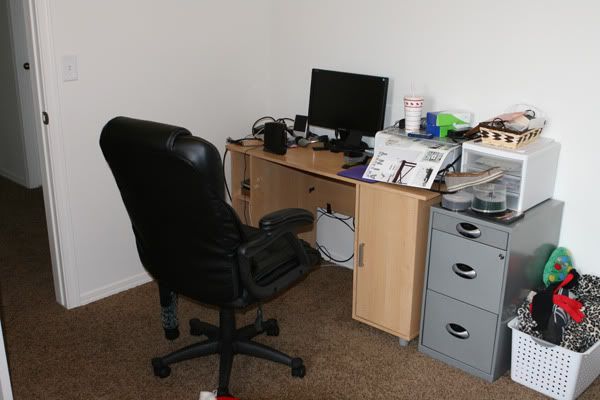
I received a free desk from my in-laws. Even Karl didn't want it. But I saw that it had enormous potential, plus, my current desk was very ugly. I mean $50 at target particle board covered with fake wood sticker ugly. Here is a picture:

Photobucket

To figure out my re-do for the desk I first had to figure out how I wanted to decorate my office. I cut out inspiration from painting magazines and created an "inspiration board." Karl hated the direction I was going. However, since I work from home and I work IN THE OFFICE I told him that he could have a room in the house that we could decorate any way HE wanted - perhaps the bathroom. :) He really didn't care but it was a funny conversation.

Anyway, I had my office theme and then I was ready to paint the desk. Here is my lovely desk BEFORE the transformation:

Photobucket

Notice the nasty stickers on the side, the peeling-up plastic, and the un-moderness of it all. But shapewise? I'll take it. I can do cool things to this desk.

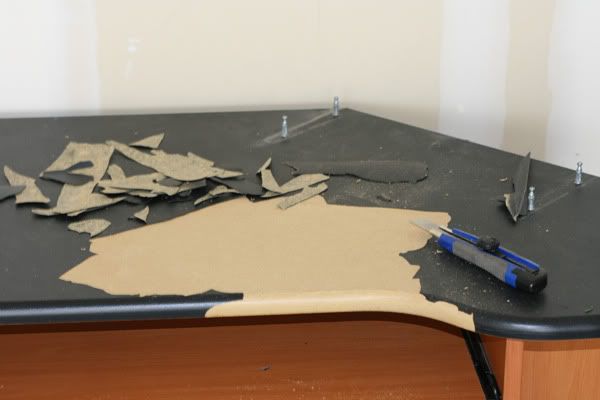
So I started by peeling up all of the nasty plastic with a razorblade.

Photobucket

That part took forever. Then I sanded down the wood underneath the previous plastic with my awesome sander. I also sanded off all the stickers.

I then went to walmart and bought shiny black paint and polyurethane. I then went to the scrapbook store and bought scrapbook paper to line the back of my shelves.

I put on 3-4 coats of black paint over the whole desk and then put on 2 coats of quick-dry polyurthane. (that sounds like it was so fast. But it wasn't)

I then lined the previous shelf backing with my scrapbook paper via decopauage glue.

I contacted Karl's aunt who has a vinyl printing business and paid her to print out a big vinyl sticker that I designed in illustrator.

Once the desk was dry, I nailed on the back of the shelves that are now covered in pretty paper. I then put my big vinyl sticker across the top. Are you ready to see the transformation??????????????

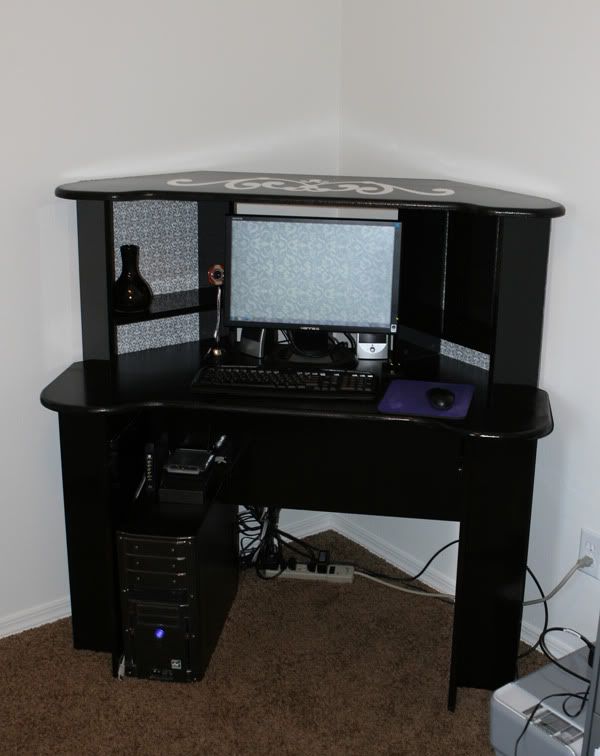
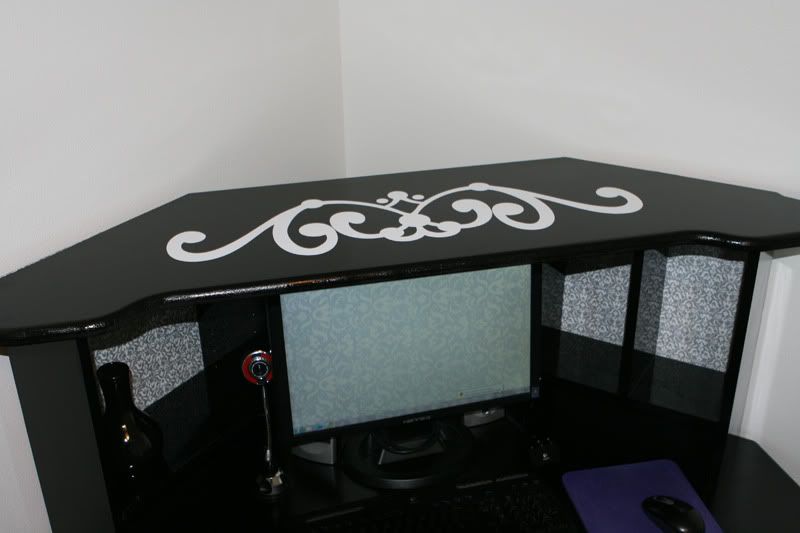
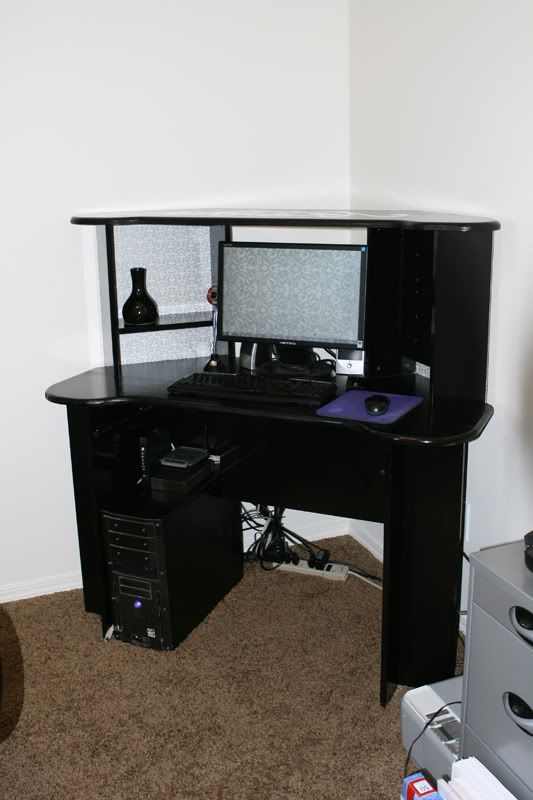
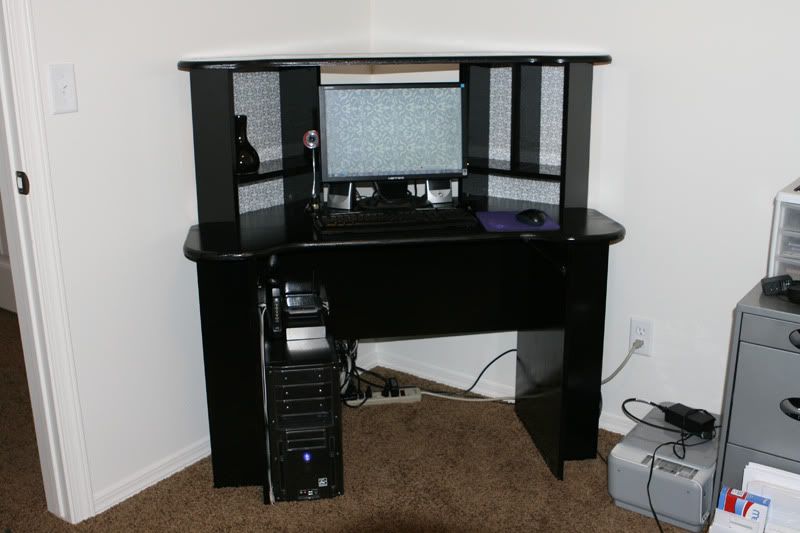
DESK AFTER:


SEXY SEXY DESK. Which Karl LOVES. He just couldn't see my vision in the beginning.
Photobucket

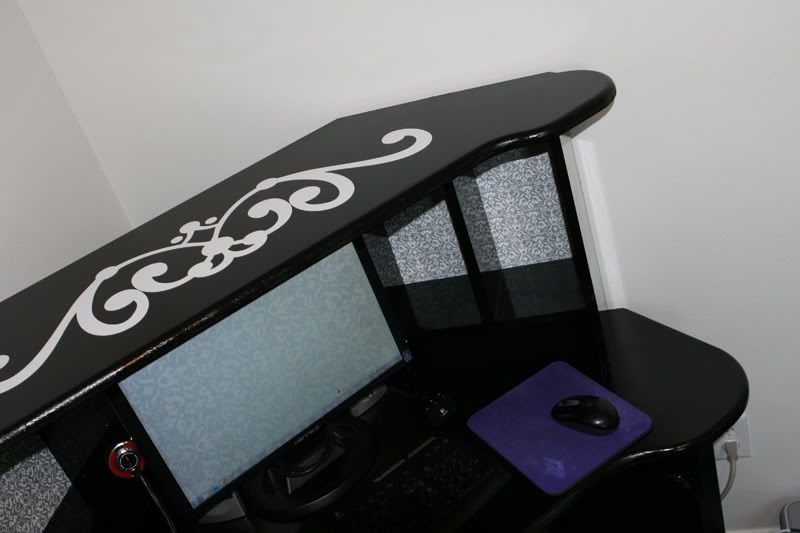
Here you can see better the sticker I designed and the back of the shelving:
Photobucket

And just because I love it so much and am so proud of it, here are tons more pictures of it.

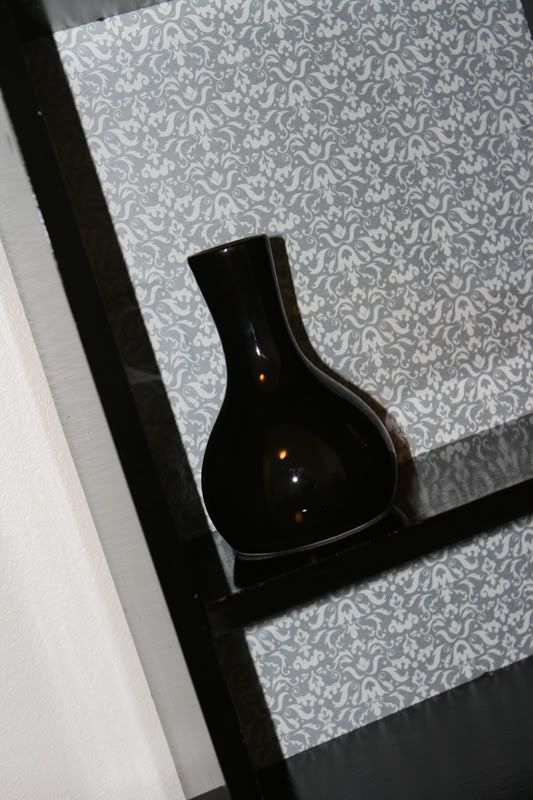
Cute vase from target:
Photobucket

Side view:
Photobucket

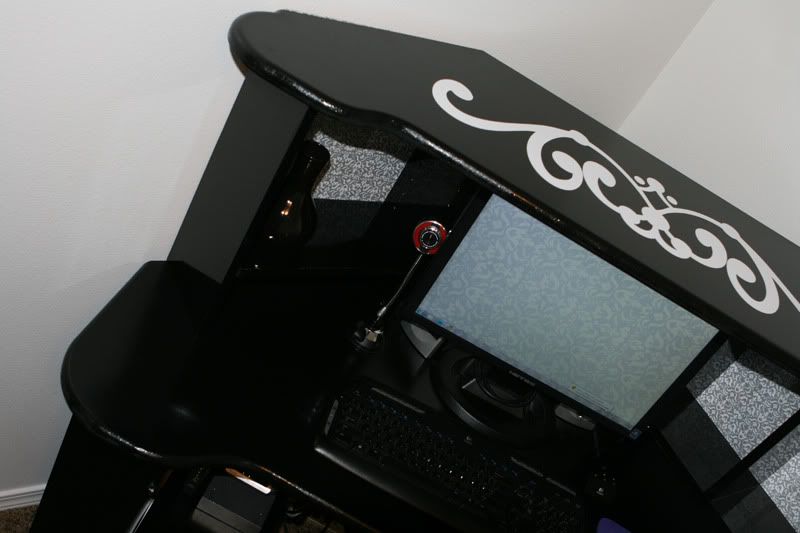
Two diagonal views:
Photobucket

Photobucket

Desk again (the printer and junk has all been moved now)
Photobucket


AND GUESS WHAT??? I just got a FREE DRESSER!!! Stay tuned!